Skip to content →

Trailer Rehab: The floor got laid

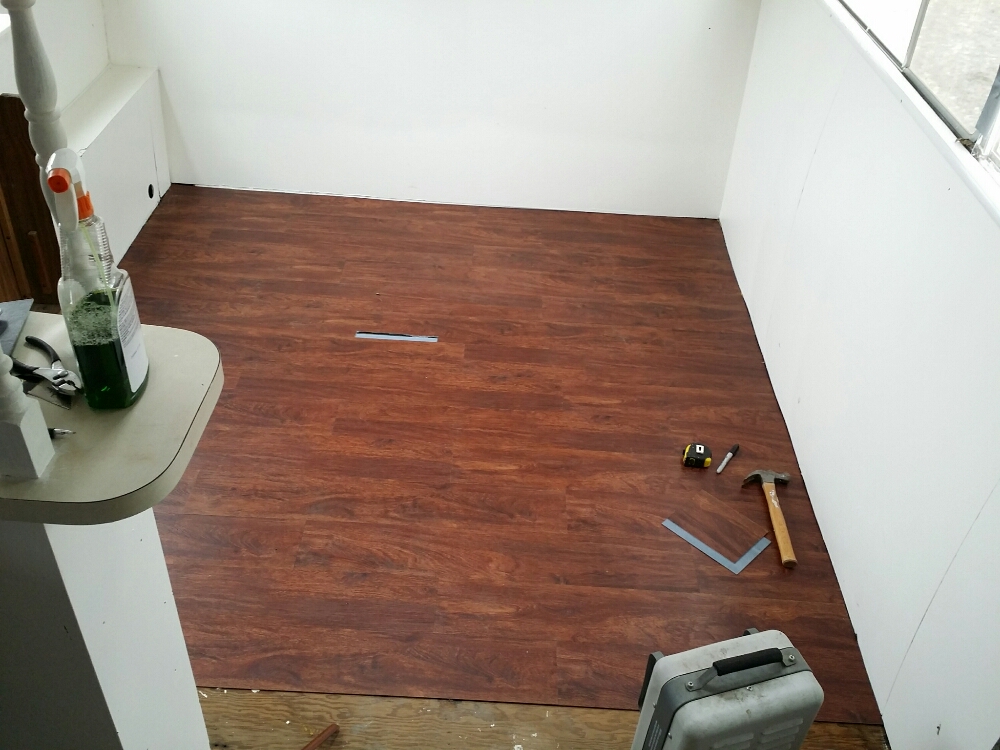
This is the day that the Holiday Rambler became something I can see us living in.

Because in 10 days we will be living in it. (Mark your calendars for Jan. 21)

PicsArt_1421030737462
Cleaning the floor before beginning is key.
PicsArt_1421030774260
They are masters.

PicsArt_1421030803799

PicsArt_1421030841857
She’s the detail person, which is she requested to be the floor-layer. I just don’t have the patience for this.
PicsArt_1421030869267
Progress!
PicsArt_1421030906015
Happy sigh. Isn’t she pretty?
PicsArt_1421033574174
To remind you of what she looked like before.
PicsArt_1421030972455
I documented the process. And brought supplies. And finished cleaning.
PicsArt_1421030999110
They made it through the kitchen and down the hall before running out of daylight.
PicsArt_1421030944984
Meanwhile, this awesome friend spray-painted curtain rods, the stove top and the floor vents, helped me clean and was generally awesome.

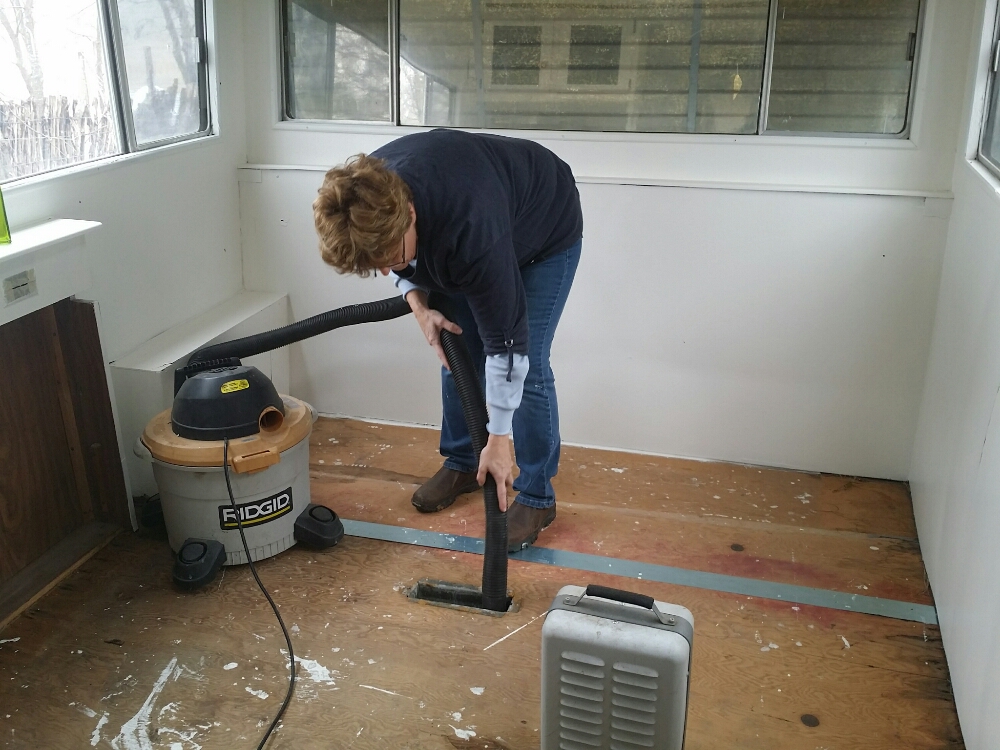
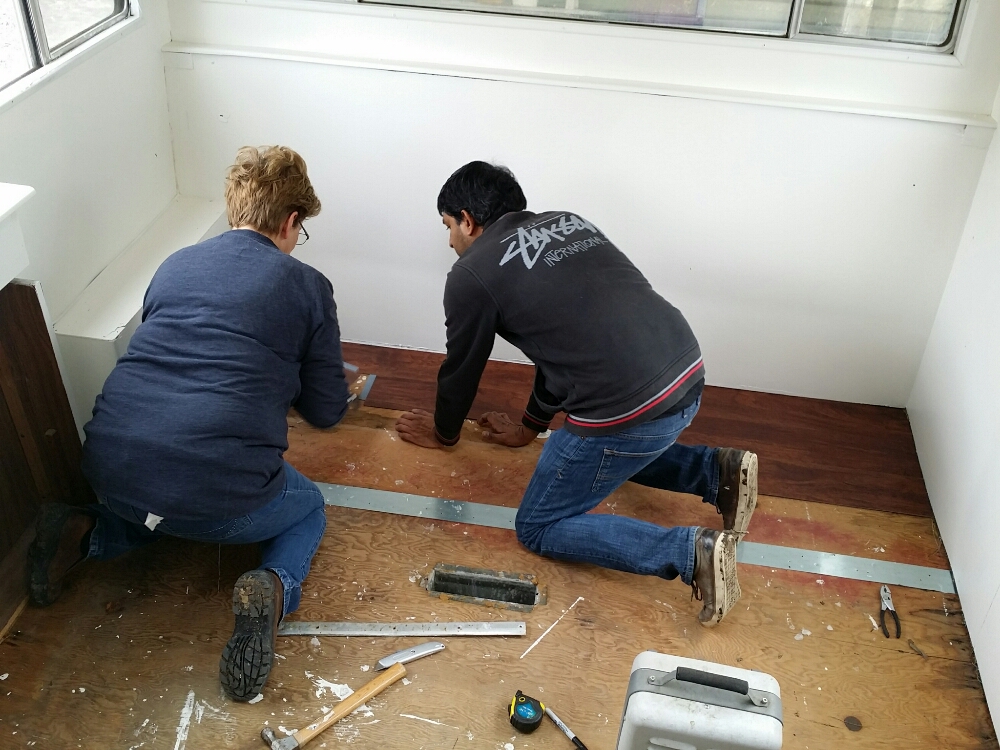
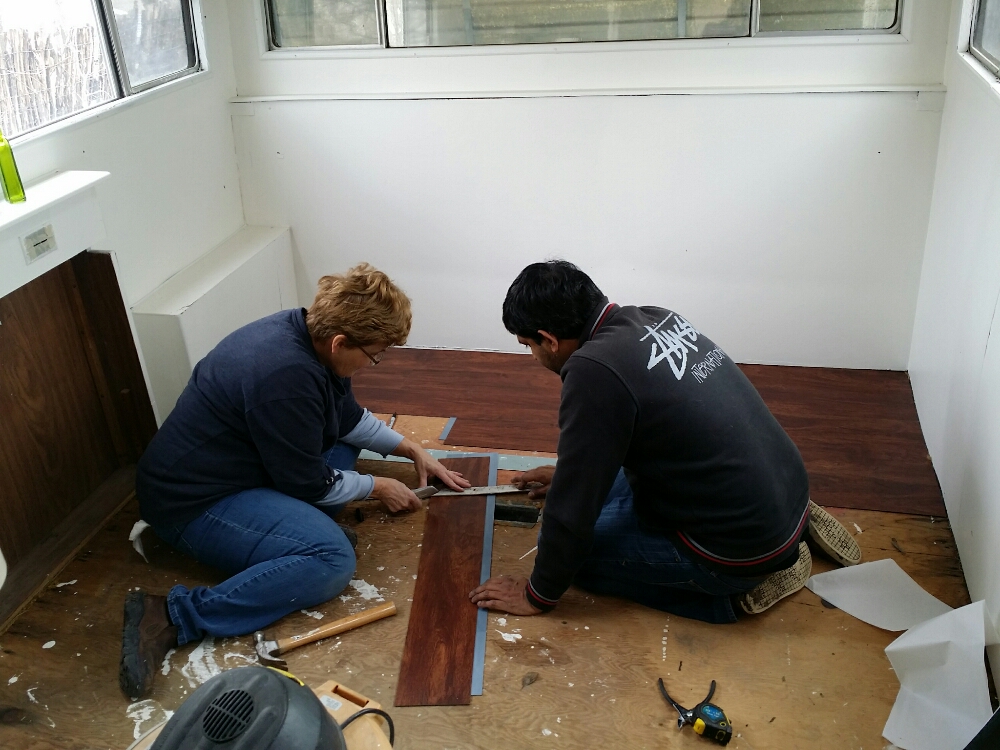
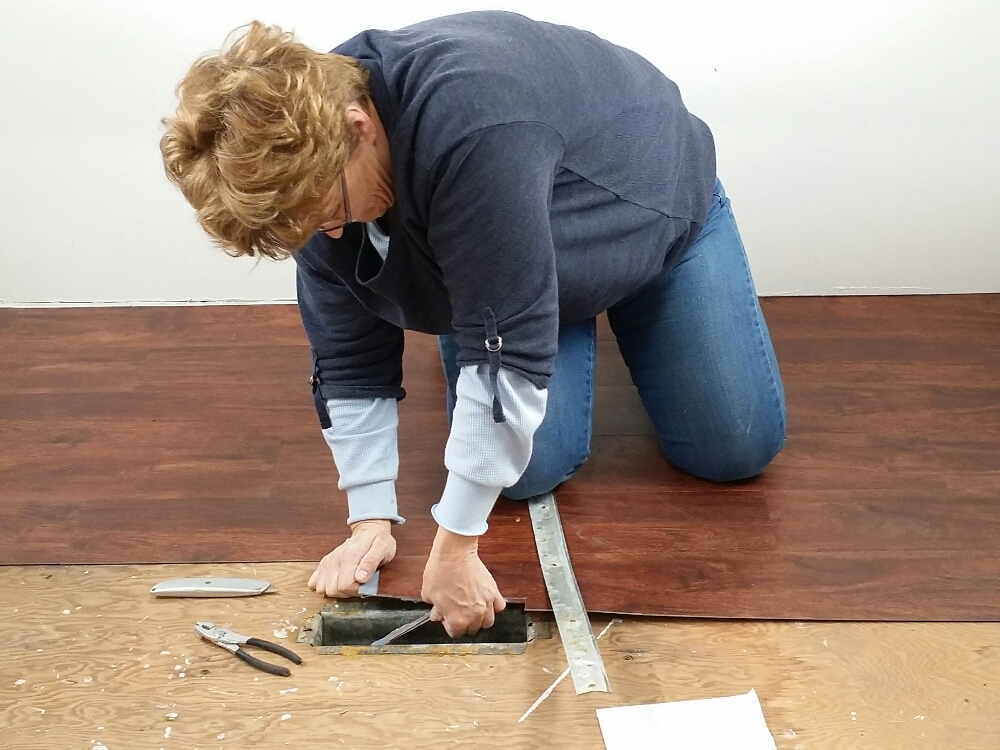
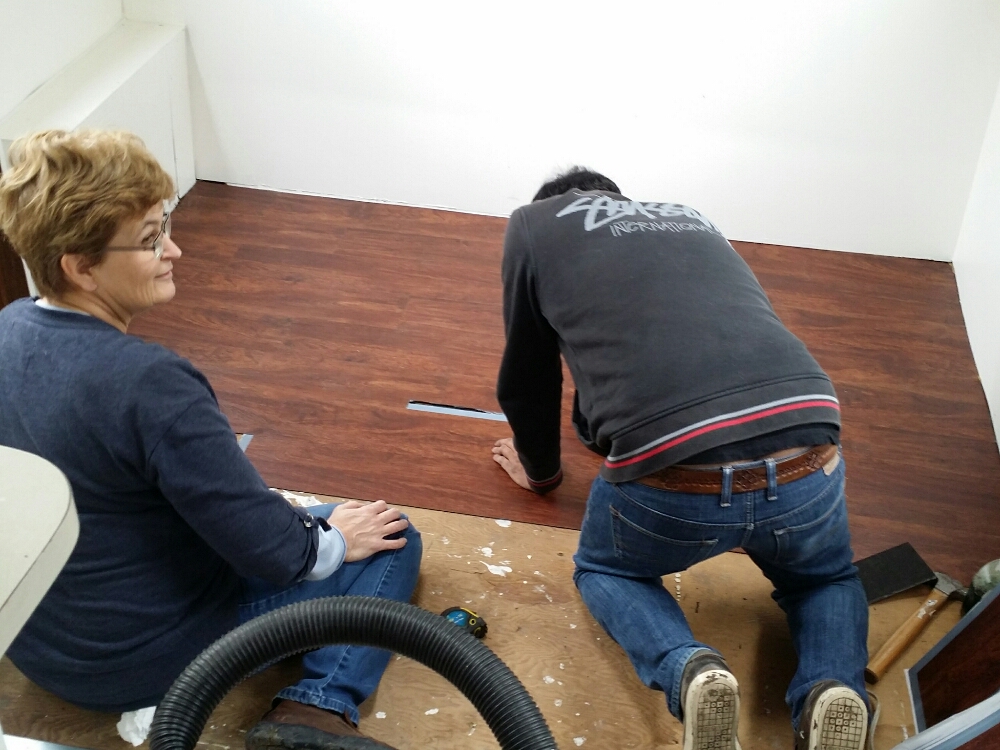
After researching the best floor option, I decided to go with Allure TrafficMaster from Home Depot. The manufacturer says not to use it for travel trailers, but the many forums I’ve been reading said it’s OK. Many people have told me they’ve used this brand for their trailers and have had no problems with it and recommended its use. So we went with it.

If you’re in the middle of your own trailer rehab process, this floor seems pretty easy to install. It’s grip-lock installed – no glue. And it’s free-floating, so no nails either. You cut it with a utility knife and you lay it down.

There’s a lot to happen in the next 10 days, but we’re excited.

It’s gonna happen!

Published in friends Holiday Rambler Trailer Rehab

Comments

Leave a Reply

Your email address will not be published. Required fields are marked *